
Last Sunday I decided I'd finally do one of the quicker projects on my list: sprucing up the foundation. It would be a simple project I could get done in a day and cross off my list, or so I thought. My foundation is painted, but the paint was dingy and chipping. It didn't take me long to learn that water is the major enemy of structural soundness, and where you have cracks and cold weather, you're going to have water damage. So my plan was simple: patch the chips so I can have a nice, smooth surface to repaint. Easy, right?
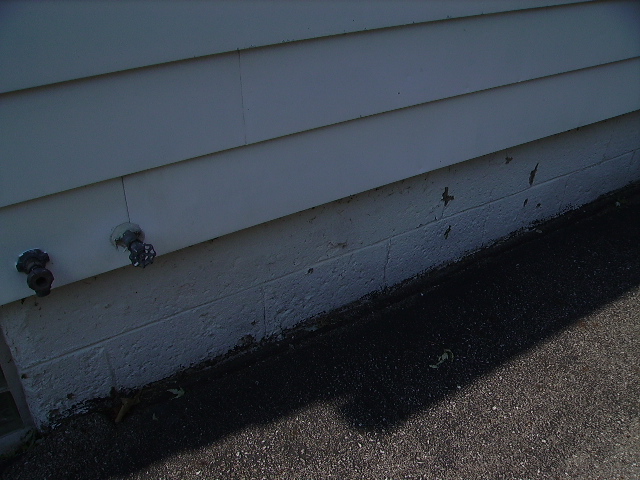
But first, there was the little matter of what to patch it with. I knew there are expensive tubes of concrete repair, but with the amount of patching I needed to do, these were above my budget. I searched the net and found several suggestions: concrete, cement patch, hydraulic cement, mortar, and epoxy. I went to the hardware store and after reading some labels came home with hydraulic cement. Then I started scraping the loose parts off the foundation, but the loose parts kept coming. Then I found some spots where mortar was missing. I began to panic and called my stepdad, my entire family's handyman guru, for advice. In the end he and my mom drove an hour to come to my rescue (yet again) to show me some tricks of the masonry trade.
The stepdad was not impressed with the idea of using hydraulic cement at all. He recommended Quickcrete mortar. So I learned how to mix and apply mortar. And I had lots and lots of practice at it while I tried to patch each and every little chip and indent. Having the right tools definitely helps. Undoubtedly it wouldn't have been a much longer and much more frustrating experience without those lessons!
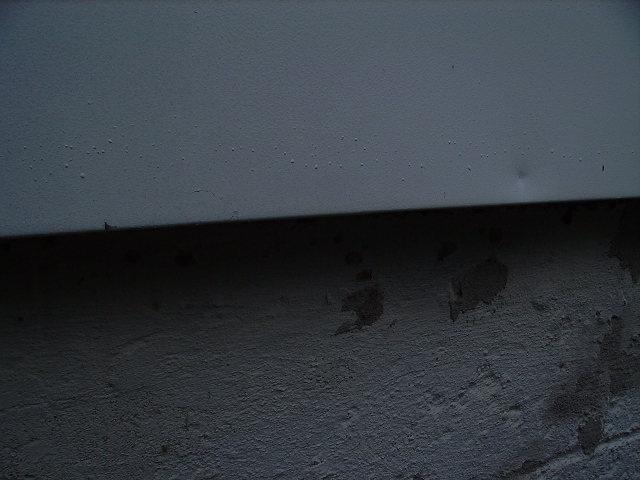 foundation during, after patching
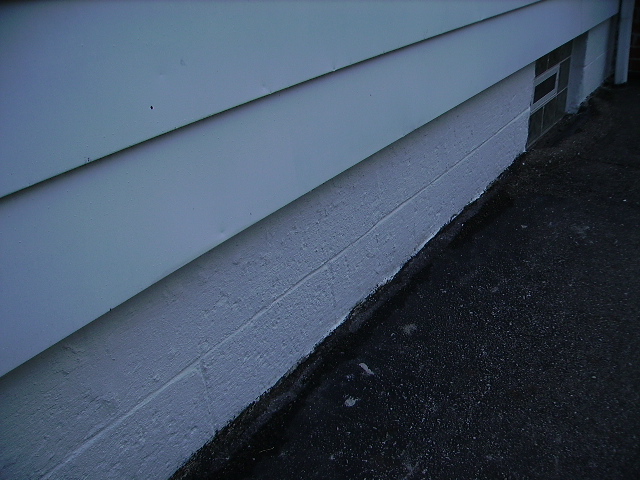 Which looks even better in person and gives me a little thrill of self-satisfaction. Until I remember that I have three more walls to go.
it does look nice
ReplyDelete